It is inspiring to make vinyl stickers, while it does not matter whether you sell them later or give them to your family and friends. At the moment, different types of designs are in use – from the simplest to incredibly time-consuming to manufacture. Due to the high demand for them from consumers, you can make good money by trading them on your social networks or selling them to unique sites for subsequent resale.
Our guide was created to help you master the simple science of making vinyl stickers at home, not adhesive vinyl printing in San Francisco or other cities in the United States. And also to help you later turn your venture into a business.
What equipment do you need?
It makes no sense even to ask how to make custom vinyl decals until you purchase these items. So, what exactly from the master set will you need:
1) Good software – It will allow you to make a layout and project of a future product in 3D format.
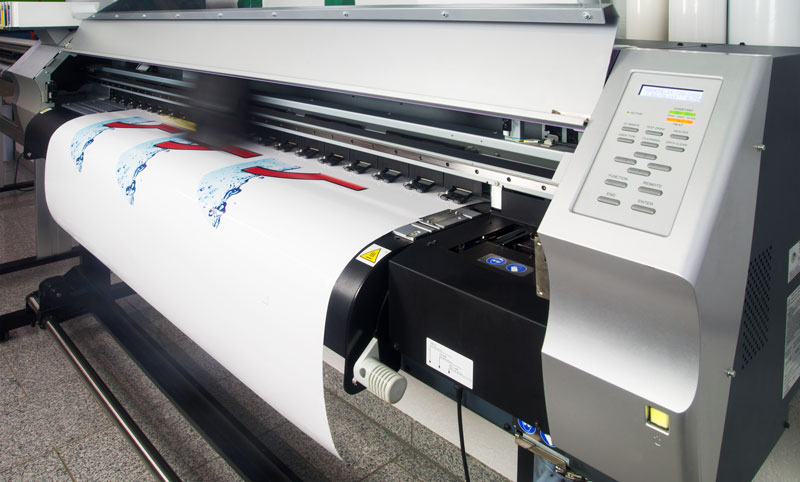
2) Conventional printer (inkjet). Of course, we mean a color printer, as this will be a considerable advantage in the future. If you ask any of your friends what stickers they would like for themselves, hardly anyone will answer you that they are black and white.
3) Vinyl intended for printing. Our team strongly advises you to use Expressions Vinyl as it is easy to handle, affordable, fits well in a leaflet inkjet printer, and much more.
4) Laminating agent for the vinyl surface. In general, you can buy it at will. However, the problem lies in the fact that the life of the sticker, if this coating is not present at the stage of production, will be much shorter. Mathematically speaking, your finished product will last four times longer than without it with such a tool.
5) Carpet for cutting stickers.
6) Subject to use when drawing the image. You will need to find something suitable for leveling the vinyl and polishing the decal. You can use some unnecessary discount cards and so on. If you are thinking about making vinyl decals for walls, then, in this case, you need a more effective tool.
7) Cutting machine.
How to make multi-layer vinyl decals?
So now that you have all the equipment you need, you can start making your sticker. In total, this process can be divided into several parts:
1) Processing the design and preparing it for printing
What exactly will you need to do at this moment? First, open your picture in the design program you are using. Next, you need to go to the “Page Setup” box and find “Page Size” where you will set the size to match your vinyl sheet (usually 8.5 x 11 inches, so choose that). After that, it is essential not to forget to find type number 1 in the same window for scopes.
Place your prepared pictures on the page. You can place them in several rows to make it more convenient for the buyer. Do not go outside the fields marked in red.
Add a delimiter line in the “Trace” section, and then click on the “Select Region” button so that you can stretch the shape around the images. In the column, you also need to select “tracing the outer edge” to trace and show a unique outline when printing, which will provide cuts in the corners of your picture.
Then you can print by placing the vinyl sheet in the printer.
2) Decal cutting process
To do this, use the rug that we mentioned earlier. You don’t need anything else.
3) Accommodation
Pick a spot, smooth the vinyl, and polish.
Ready! Now you can safely sell them to potential buyers. Good luck!